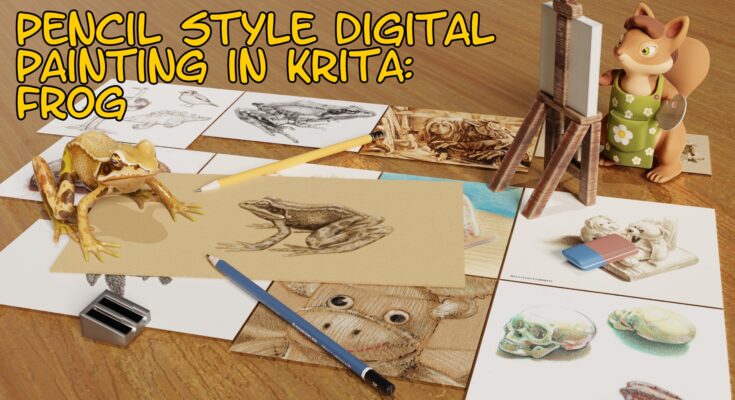
This article is a transcript of the process shown in this video.
For this mini project I started with a 3D sculpt for the frog using ZBrush and 3D coat.
Any 3D software you use is fine as long as you are happy with it and this is optional if you are not interested in the G’MIC stage, I’ll go into the hand drawing stage later in this article.
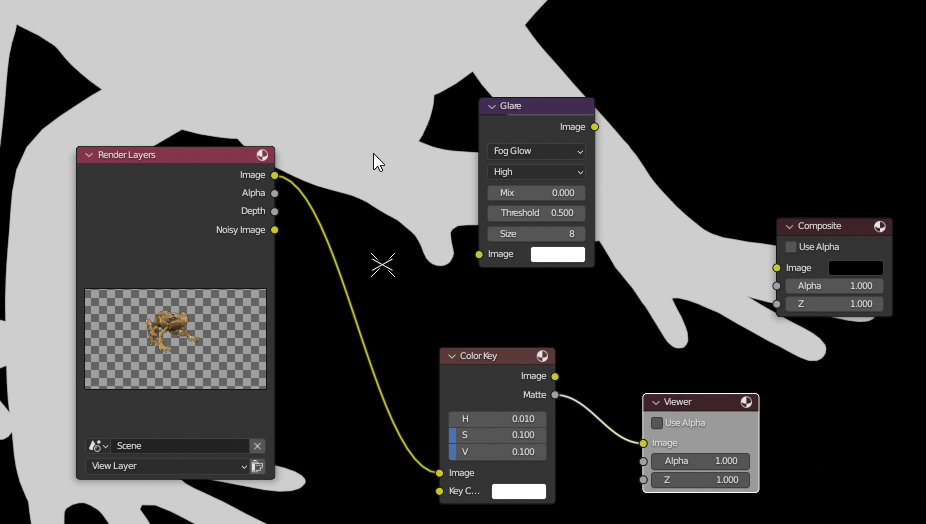
I rendered out an image using Blender as well as an image suitable for a transparency mask which I will use later.
I make the mask image in blender by using the compositor workspace and adding this node setup: There may be better ways to do this but this was good enough in this case.
I open Fell up for the next stage. One of my past experiments was with some pencil textures I made and used with a filter in G’MIC (which comes ready installed with Krita but you can get it for other software as well) called artistic stylize which I discovered was useful for creating a starting base of textured pencil from images.
The main use case for me is for stylizing 3D renders but this could be used with any type of image. It works on value scales, so it won’t work well with flat value images.
Depending on how the 3D render is lit the shading result will change. In some case’s adjusting the levels to better define light to dark may help in getting better results.
For this project I started with a 3D render image from Blender and then ran the G’MIC stylize filter on it. The one I chose uses my handmade pencil shade textures. The result makes a good starting base for the pencil drawing I will work on. You don’t have to use the filter but I thought it might save time to use it in this case with a 3D render.
I have written some articles on my blog about how to use this filter and change the settings to get better results with the pencil textures I made.
It takes a little while to output the result (depending on how fast your computer is). The result will also change depending on whether your image has a dark background or light background. Transparent pixels count as a dark background for the filter.
Now I’ve got the pencil shaded base for the image, I want to cut away the dark background by using a transparency mask.
I changed the levels for this mask image so that it is pure white against black. Black will hide pixels and white will show pixels. Then I convert this layer to a transparency mask.
I blur the mask a little and then refine the edges with curves. Control M gets this menu up when on the mask layer.
Now I am choosing a pattern texture for the background paper layer. I use it to fill the layer in behind the frog’s layers (from the top menu: edit > fill with pattern).
I created a layer above this texture layer and then set it to overlay mode. This is optional of course and depends on the look you want. You could use paper texture backgrounds or just a plain colour. Choose something that won’t hurt your eyes when drawing.
Next I duplicate the frog’s layers and hide their visibility for a backup version. I use a bit of Gaussian blur filter on the pencil texture to soften it.
Next I choose from the top menu, filters > color > color to alpha with the default setting and press okay. This lets the paper texture show through the frog pencil layer.
Now I am ready to do the hand drawing bit. I have to decide which pencil to start with for the outlining. I decided to use a new set of Ramón Miranda’s pencil brushes for Krita called SK 2.
You can download this brush set from the links on his video about how to use them.
I have previously used his experimental graphite pencil set SK 1 which I might also use for this drawing.
I went through the new brush set, testing marks to get a feel for them and then I created a layer above the frog pencil base to start drawing lines and shading details as I would when hand drawing after initial base shading is done.
I have my 3D rendered image on my second monitor to use as a reference while I am adding details. Of course I don’t really have to stick to it too much in theory, it depends on the look to aim for. Drawing styles vary dramatically, it is a very personal thing.
Instead of using the G’MIC part I could have done this bit first. With most studies or practice drawings I would have, but as this is an image I’ve created from a sculpt which took a long time to make already, I thought that would have been counter productive.
The other advantage of using this process with 3D models is that re-lighting them, rotating them etc. is possible and this use of the Artistic Stylize filter might be useful in an animation process or for a set of related images from different viewpoints or a character in different poses.
As an aside I have also considered you could use the G’MIC Illuminate 2D shape in this process, but that might end up more time consuming than just shading it yourself at present if there were a lot of images to do as it only works with images on a transparent background. Still, it could be useful.
Now please don’t get me wrong, I love drawing from scratch and I do so in my sketchbooks and for studies but doing this shading style in digital art can take a lot of time even with great brushes, so any time saving technique for production art is useful, especially when applied to a 3D and 2D process in this case.
This drawing step took around 150 minutes or so. I’ve sped it up for this video.
I decided to add a paper texture in the background later on. The advantage of digital art is that you can change anything you want whenever you want, especially when working with layers. This is one I made for myself by scanning in some brown card and making it into a seamless tile. You can find it on my Gumroad page.
Here I decide to change the colour of the pencil lines I’ve drawn by using a gradient map filter.
As long as you add it as a filter mask you can always change it later in the settings.
I added a filter mask for a gradient map to the base shades created with the G’MIC stylize filter as well.
Here is a reference sheet I made for myself of my traditional drawing work so I can check whether the digital version is representative of it or not. For this example I wanted to make the lines browner like I had done in the sock monkey drawing. If you are going to do this you could make your own reference sheet of your drawings to help you as everyone’s drawing style is different.

This is an earlier digital pencil drawing I started with using a 3D render of a turtle model I made, much like this technique I’m showing you now. I used this technique to create consistent looking key-frames for an Ebsynth animation.

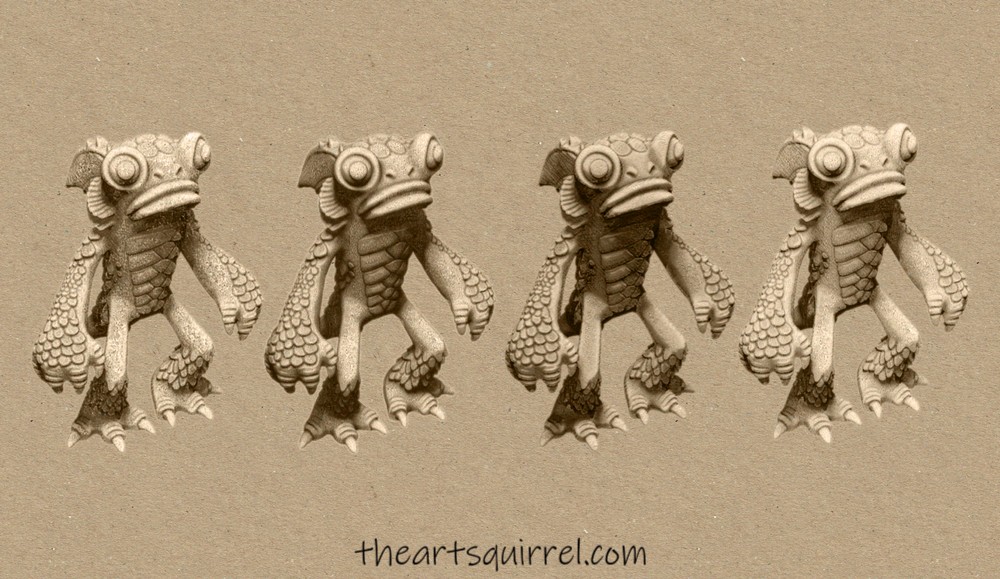
The sea monster was a sculpt I did in ZBrush. I tried an NPR render style (link) on it and combined it with the G’MIC pencil style as well to see if that would look better. I’ll be honest, the lines are not really what I would be happy with if I’d drawn them but it might be another time saving technique and it looks okay.
This was a digital drawing I did using digital painting to paint from scratch. (I love The Dark Crystal). I’ve made a video on this image which you can find on my YouTube channel.
I blocked in the main values, ran G’MIC stylize with my pencil textures and then hand drew into it. I thought this worked pretty well.

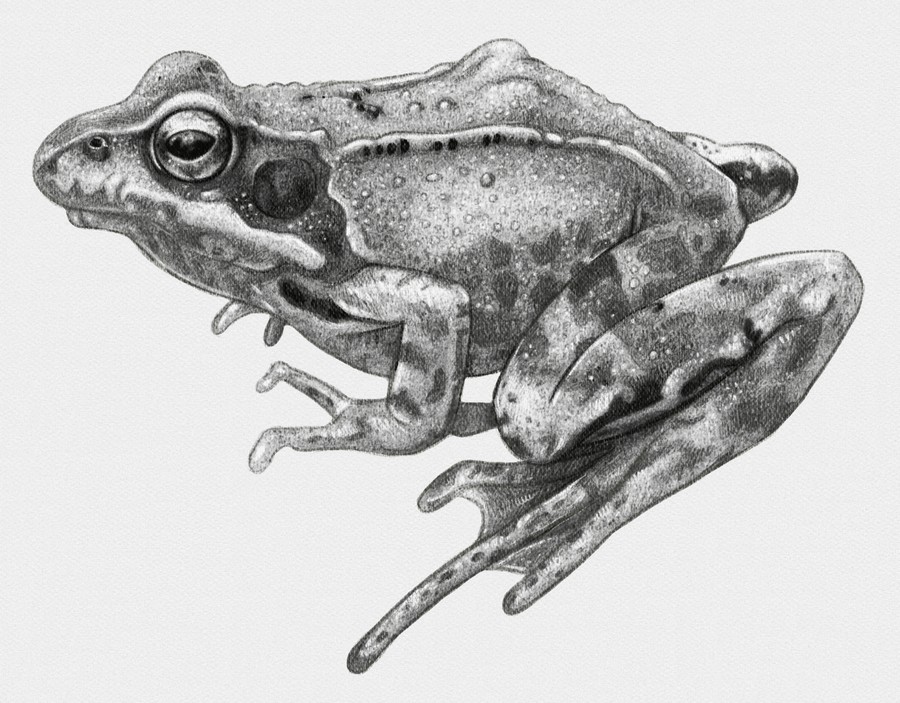
This frog was painted from scratch and then I used the G’MIC stylize with my pencil textures and hand drew into it until I was happy. After I did this study I got the idea to make a 3D model using it as reference.
Anyway back to the drawing.
When I’m happy with the dark lines and shading I like to add a layer for the highlights if it is a drawing on a toned background. I just use the pencil brushes with white for this example.
I hope that was interesting, thank you for reading.
Please help support my blog
Liberapay .
Buy me a coffee .
Kofi .
Payhip .
Gumroad .
PayPal
Source link
