I’ve touched upon this subject before on this blog. My earlier articles around this subject are as follows:
I recently wrote 2D to 3D Laigter to Curvy 3D Dragon as well which mentions normal maps and height maps using 2D images and goes further by using them to make 3D models.
I wanted to write an updated article on the workflow of customizing a 2D Illustrated normal map because there are a few new things to mention.
This is a more time consuming technique than just generating the normal and height maps automatically (unless you are happy with that, then you are done) but it might be worth it depending on the result needed and I did still use Laigter
in the workflow. I use Krita to do the 2D artwork and I also used it in the process of creating what I needed for the customized normal map. The techniques I describe in Illuminate 2D Shape G’MIC
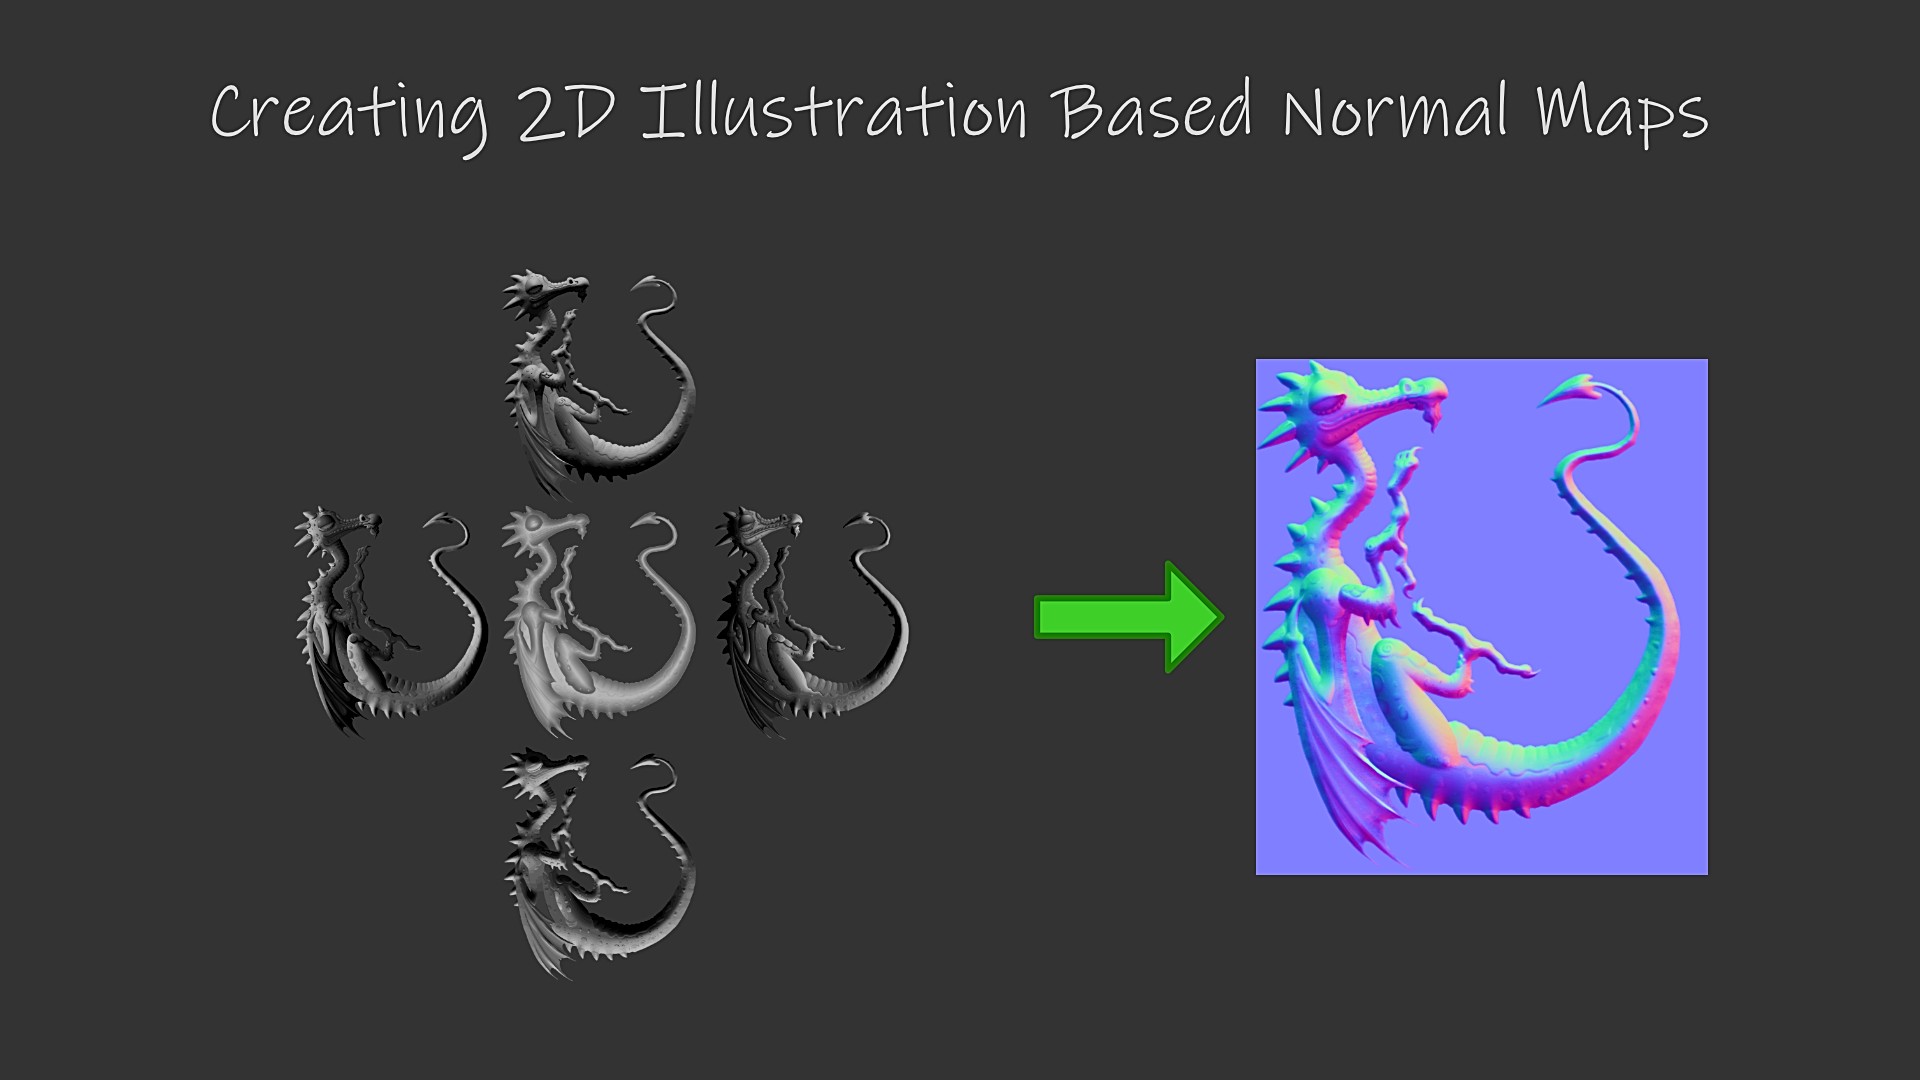
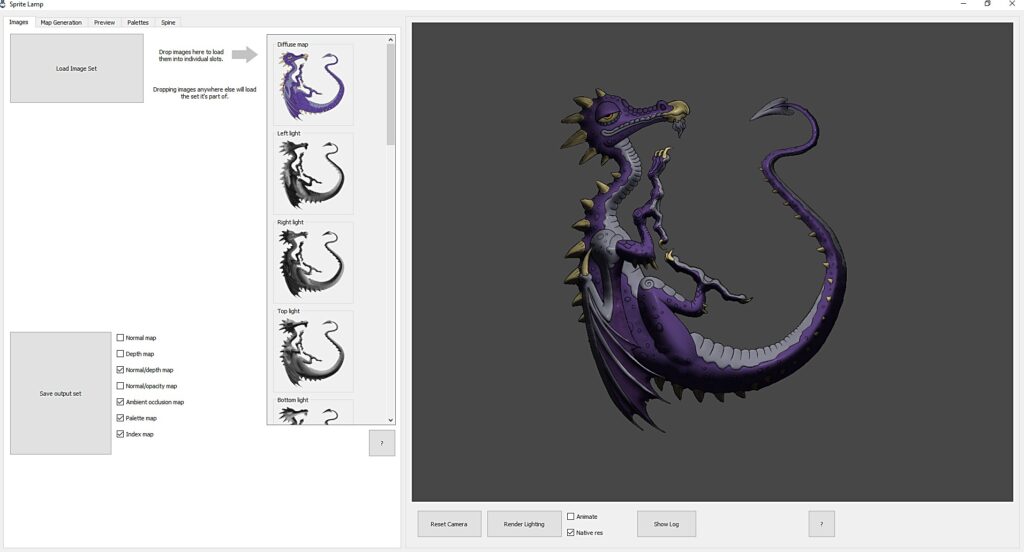
are also relevant to this article so you will need to read that one. As well as this you will need a method to combine the representations of the 4-5 light directions into a normal map. I used a software I’ve had for a while called Sprite Lamp (**) to do this which was made for this specific purpose and works fine with larger images. I also tried out SpriteDLight (***) for doing that part. I think there are manual ways
to do this as well using color channels.
Create your artwork
First you will need a picture with clearly defined lines and flat colors.
dragonlineart
If you want to see a video for that process there is one below:
https://www.youtube.com/watch?v=DrZfH9_ALIU
Create normal map(s)
After some experimentation I decided the best way to go about making the initial normal map was to separate the parts of the dragon such as the body, wing, leg, arm, eye and the head and layer them so that the resulting normal map sprites I needed could look more 3D when re-composited together. I thought this would make the process a bit more effective without having to manually correct too much.
line art to layering to normal map then the next stage…
I then exported the normal maps for all of the layers out of Laigter and imported these into Krita.
Create the starting light directions from the normal map
I merged the layered normal map’s of the dragon parts back into the complete dragon (transparency masks using the layered artwork you created help with this process). Now with a normal map to work from you can use a filter in G’MIC which is included with the latest version of Krita called “Illuminate 2d Shape”. I wrote about this recently
if you need a guide on it.
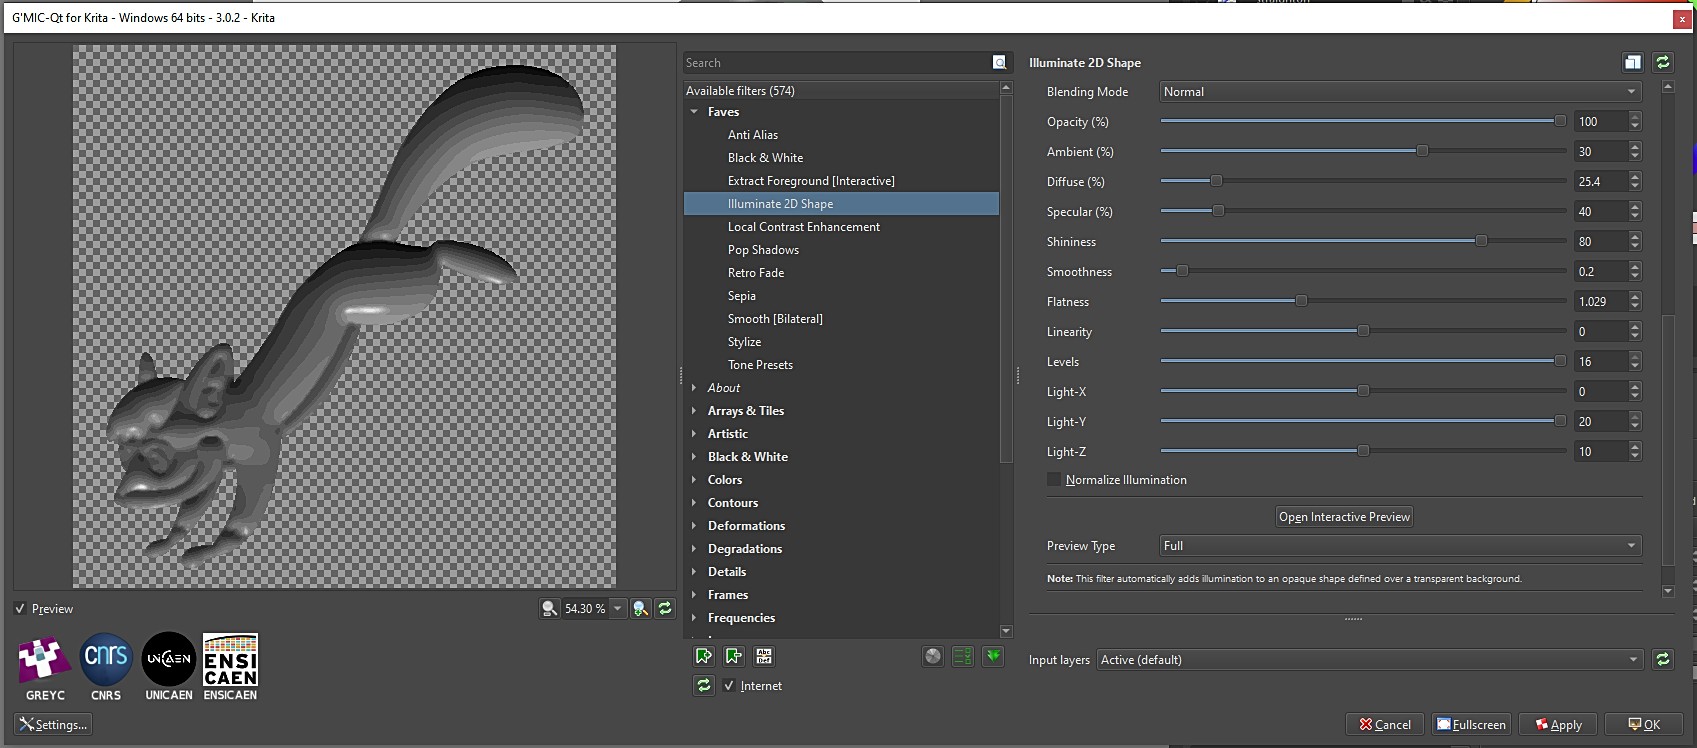
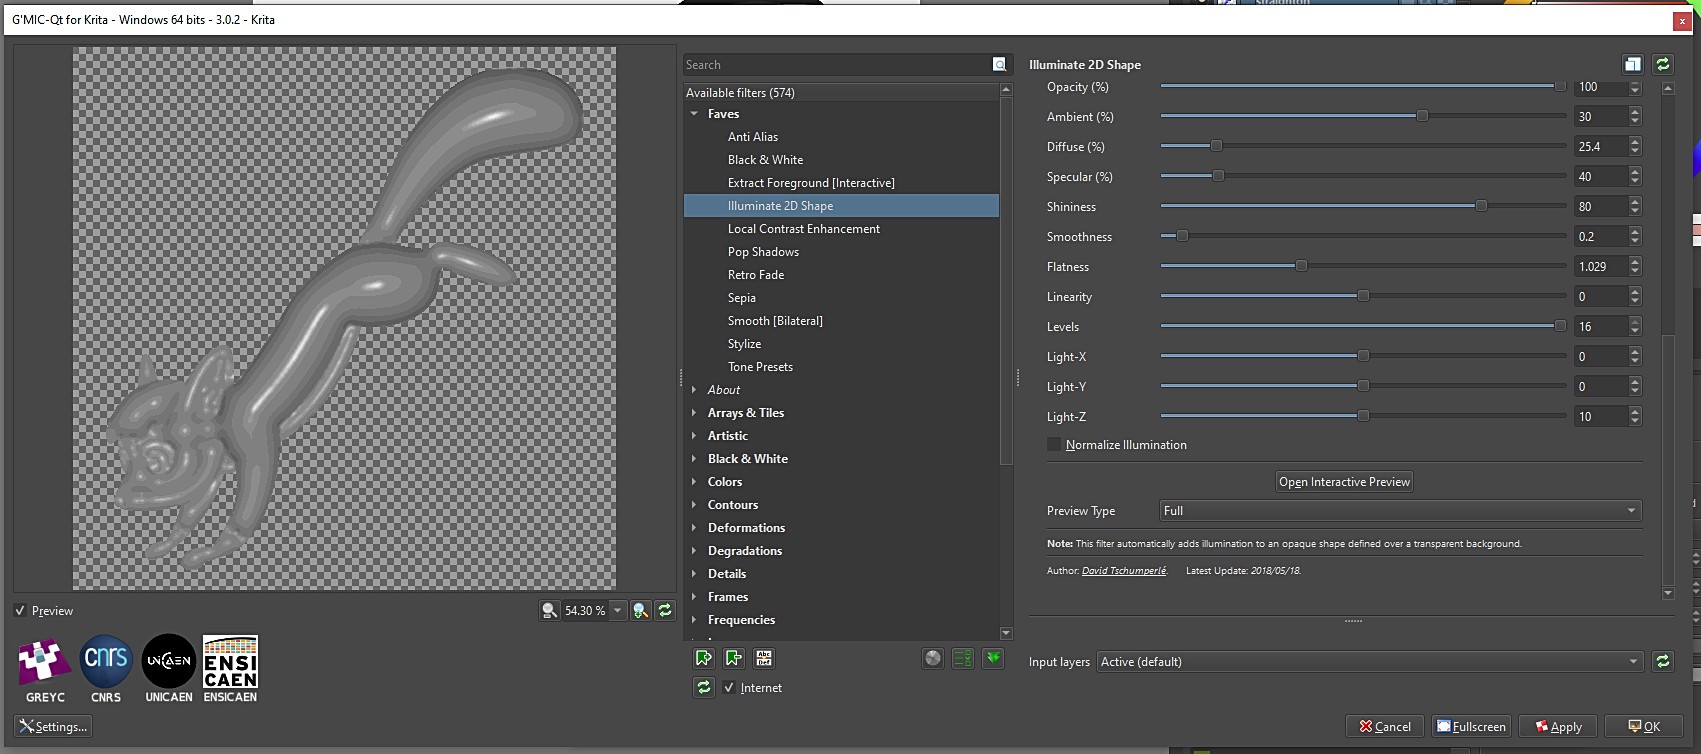
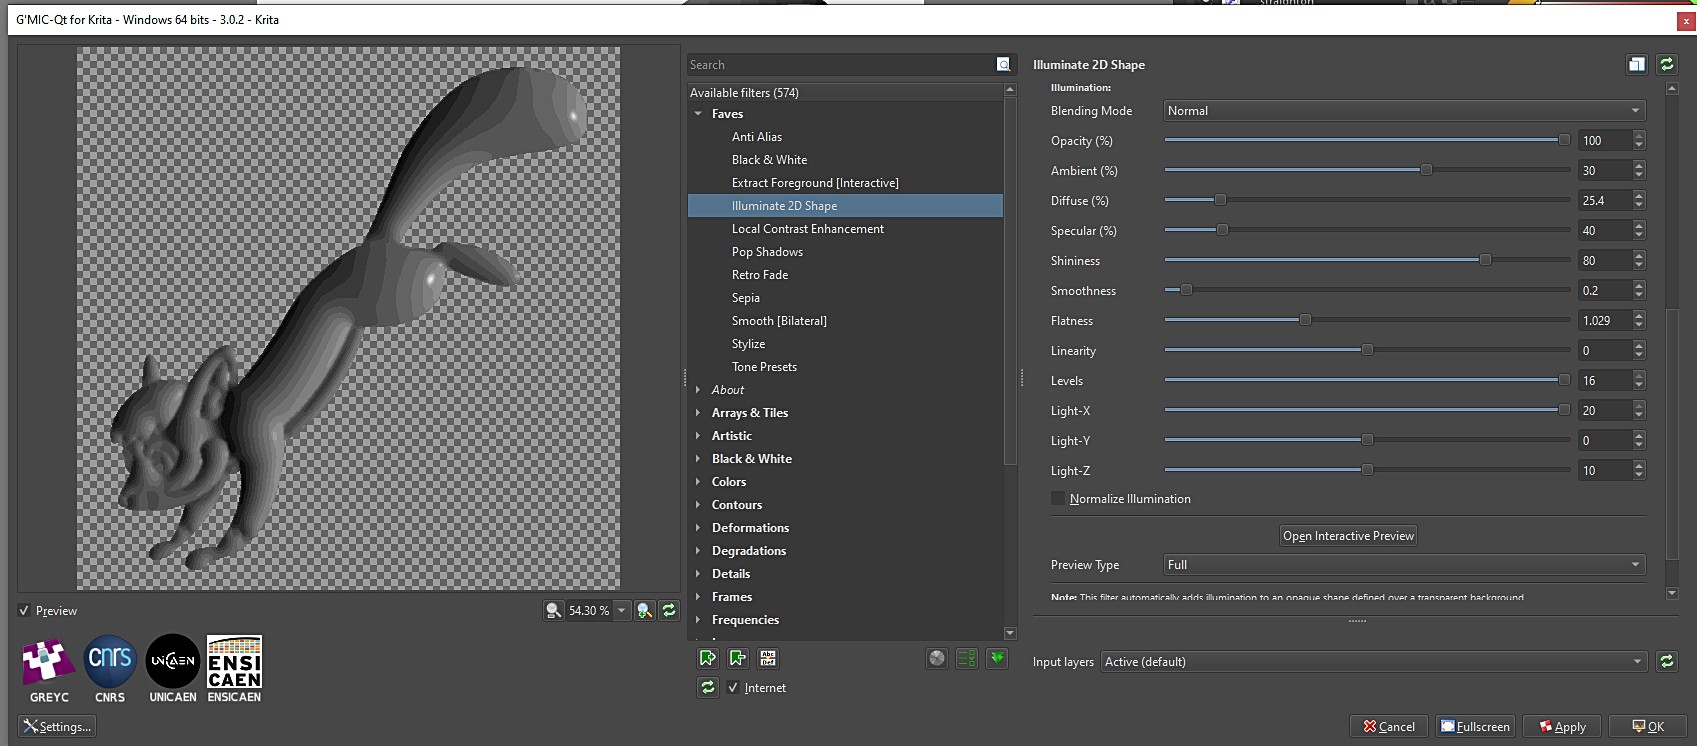
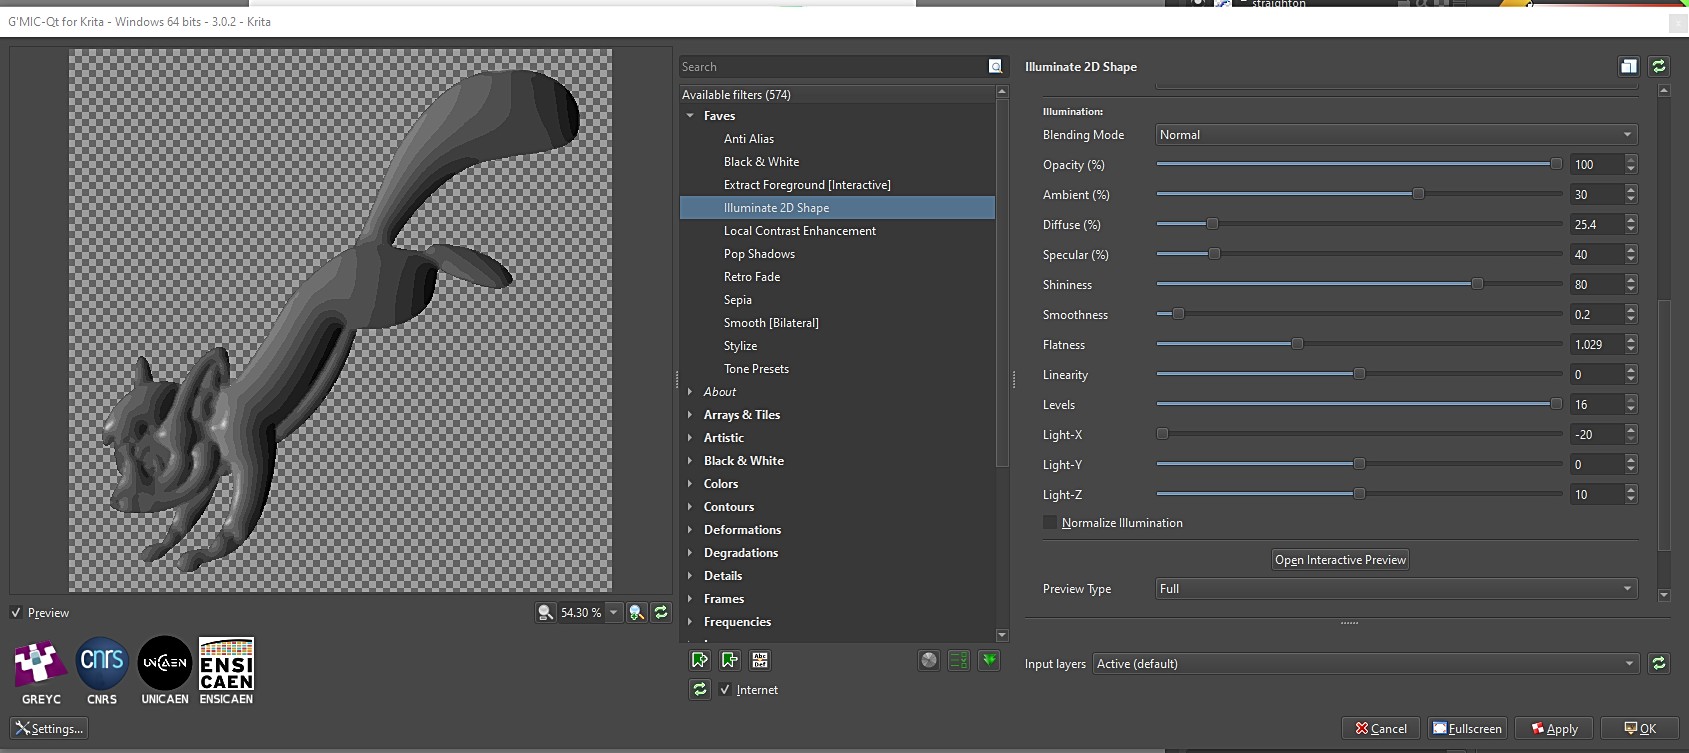

Light down
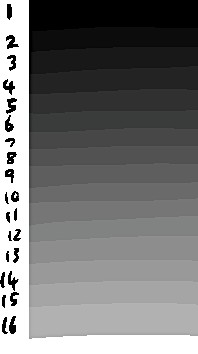
16valuegreyscale
You can get a really smooth result for the light map directions using the G’MIC filter as well if you want to start with that instead.
paintingcrayondrynewsprintblendbw
https://www.youtube.com/watch?v=EA4u9bL9IjI
Making the new normal map with the light directions
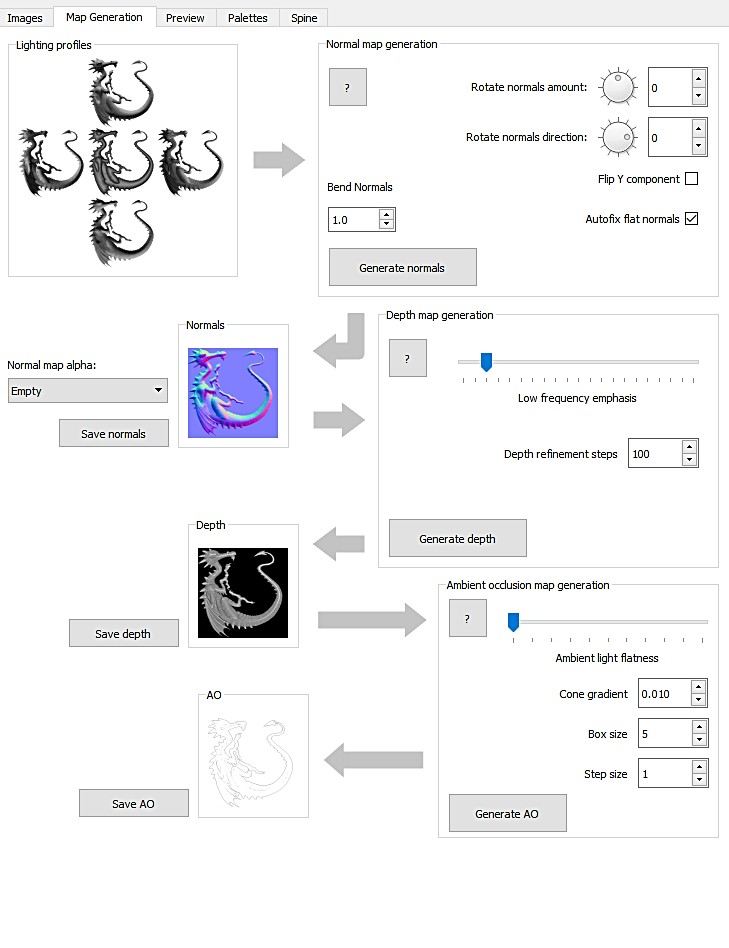
Normal map creation in Sprite Lamp
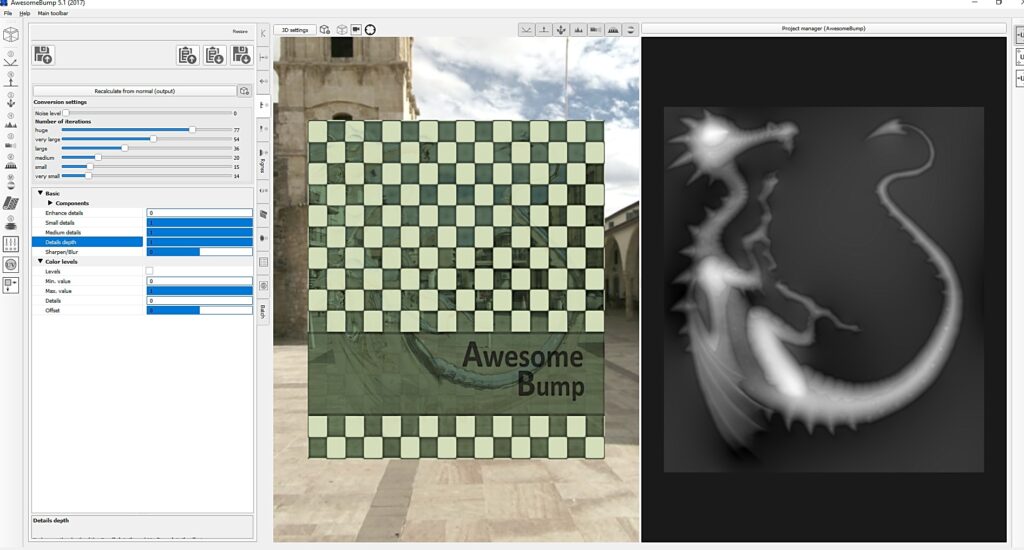
Recalculating a height map from the normal map using Awesome Bump
Thank you for reading.
- Footnotes
- * SpriteDlight is one I mentioned in past articles but it hasn’t been updated recently and is not so great with larger images whereas Laigter handles them fine.
- ** Sprite Lamp hasn’t been updated for a while as well, but it still works for me. I use the hobby version. *** SpriteDLight does have this functionality if you look in the options for the light direction maps of the normal map panel. It was much slower to use than Sprite Lamp to do this though and it uses 4 directions, whereas Sprite Lamp can use 5. However hopefully there will be an updated version
one day. Librepay
. Buy me a coffee
. Kofi
.
Gumroad
Source link
