I’ve been experimenting with another normal map and digital painting related tool over the last few weeks which you can find in G’MIC (a full-featured open-source framework for digital image processing).
Luckily G’MIC is incorporated into the latest version(s) of Krita and can be used in other software as plugins you can find on the G’MIC website for GIMP, Photoshop, Affinity Photo, PaintShop Pro, Photoline, XnView and Paint.net. I use the version that is included with Krita 5, and I use Krita for the digital painting as well.
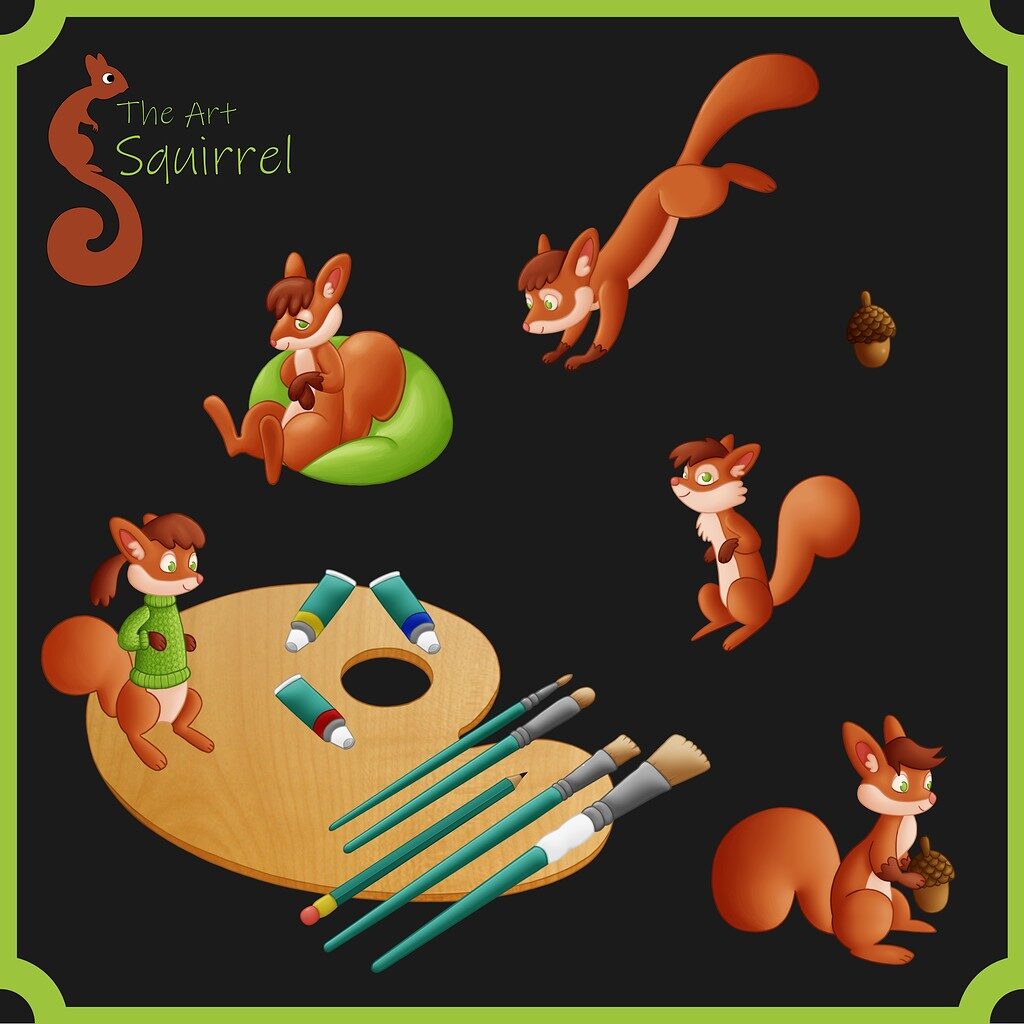
This technique was fun to experiment with, but I also incorporated it into the process for Illustrating these 2D hand painted style Squirrel mascots.
The G’MIC framework comes with lots of image processing tools. The one I will discuss in this article is called: Illuminate 2D Shape. After some experimenting with the Illuminate 2D Shape tool (and a little bit of procrastination) I developed a process for rendering the squirrels.
If you want to see some of my initial experiments you can watch this video I made to get an idea of what I’ll be talking about in this article.
I also did some tests combining the Illuminate 2D shape results with the Artistic Stylize filter, but I will talk about that in another article.
Process
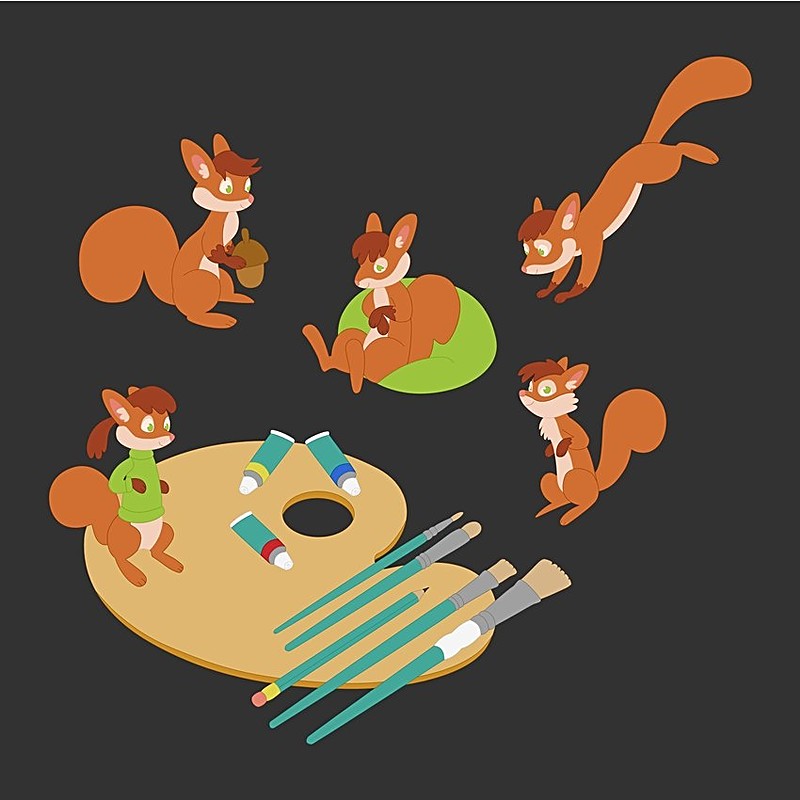
I made the basic shapes in Affinity Designer for this project using some rough sketches I had drawn out in my sketchbook as a guide.


I also used some older sketches I had made that fit with the direction I wanted to use in these Illustrations. I’ve drawn squirrels quite a lot for some reason.

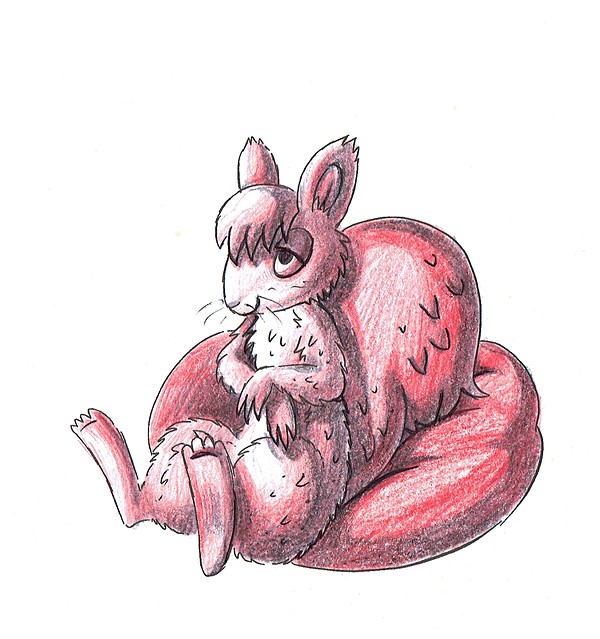
When I say rough, I mean rough. I don’t tend to spend too much time at this stage unless the subject is really complicated or I’m keeping them as traditional drawings, because when I scan them in and use them as a base to develop with digital tools I will usually change things and refine the design as I go, I rarely leave it the same as in the sketch unless I’ve spent a lot of time on it, but it is easier to alter it in the computer because I don’t have to erase and redraw pencil lines if I use layers.
Here you can see I decided to give the squirrel a jumper and I changed the design quite a bit making the shapes rounder and cuter. Simple round shapes with clear silhouettes is what I was going for.
For the art palette and the brushes I used my 3D logo as a base for the vector work.

I thought making vector bases for the squirrels would be useful before I tried this technique for resizing purposes, but it is also creates very clean lines and the colours are easy to change for each part of the squirrel. You could hand draw / ink your initial shapes and flat in the colours on a layer underneath for this method as well, it is up to you.
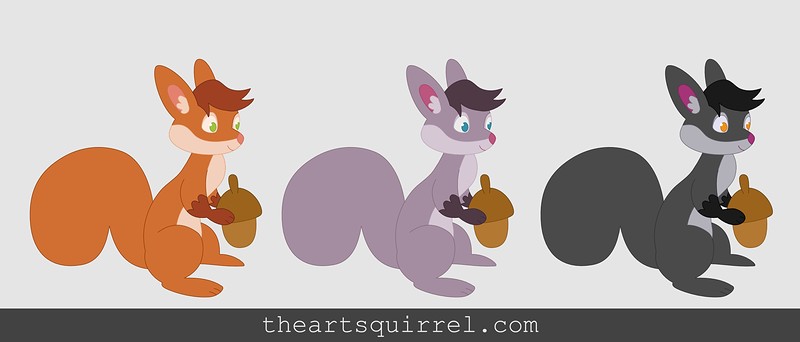
Once I had all of the vector work done for the set I wanted to Illustrate I tried some different colour variations and made a swatch palette for each variation.
To keep things simple I stuck to the red squirrel colour scheme, but the same process would be useful for any of the colour schemes.
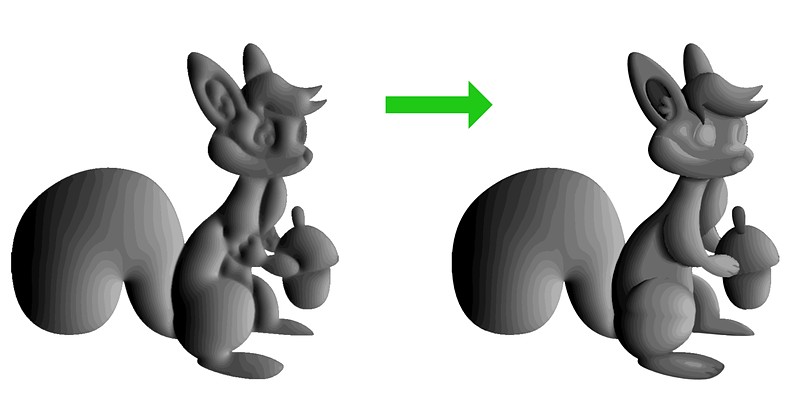
When the flat shapes were ready I ran the Illuminate 2D shape filter on them to create a normal map. I found that the best result for the filter was to make sure all the areas of the squirrel I wanted as 3D shapes were shaded slightly different colours if they were close to each other. This was so that all the shapes would register for the normal map creation in the Illuminate 2D shape filter. It seems to recognize the lines as well but the colours really help it figure out the lighting of different shapes as well. The tail and back ear for example was slightly shaded darker so that the resulting normal map worked better. I should have defined the arm area better as well but I hand edited it later anyway.
so I created a version for that purpose for each squirrel as well as exporting PNGs for the flat / diffuse colour layer.
With the normal map I generated a gradient / grayscale light direction layer using the Illuminate 2D shape filter again (input as the normal map and output to illuminate). I found this worked better if I made the normal map first rather than trying it on the colour version to get the grayscale result I wanted.
The light directions can be defined in the filter with x, y and z sliders in the filters settings.
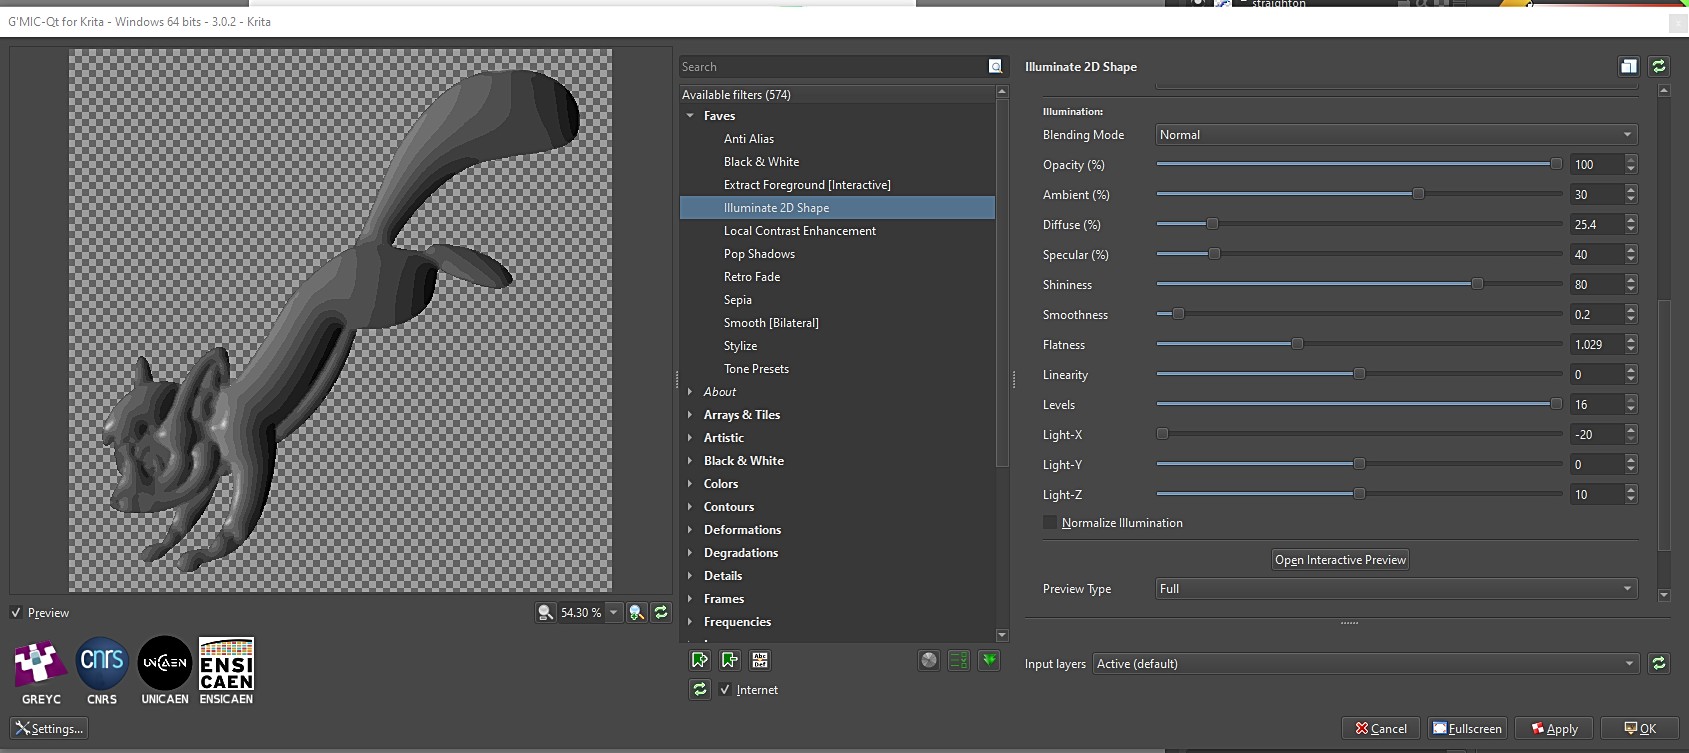
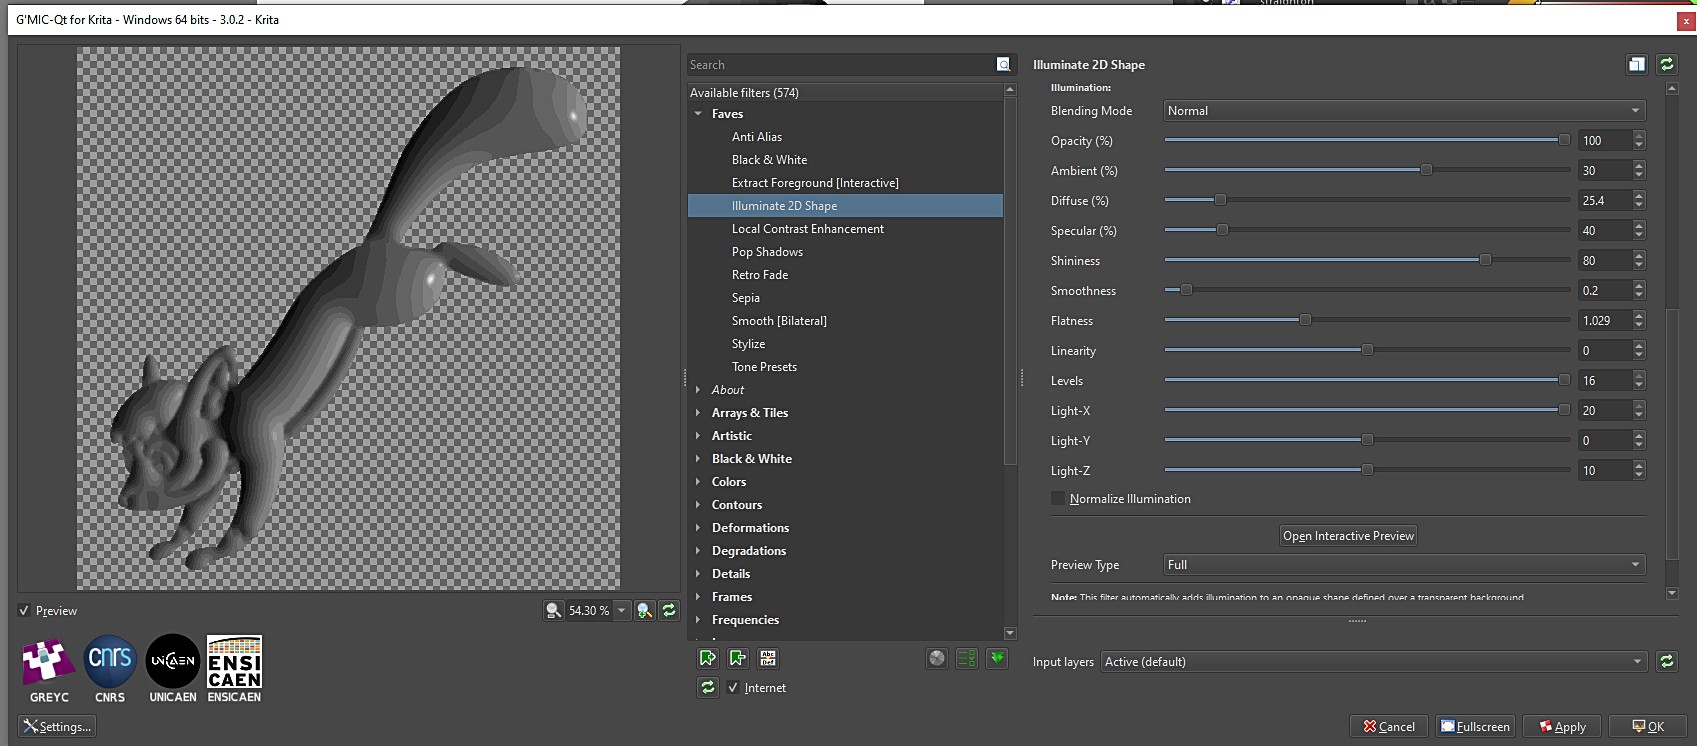

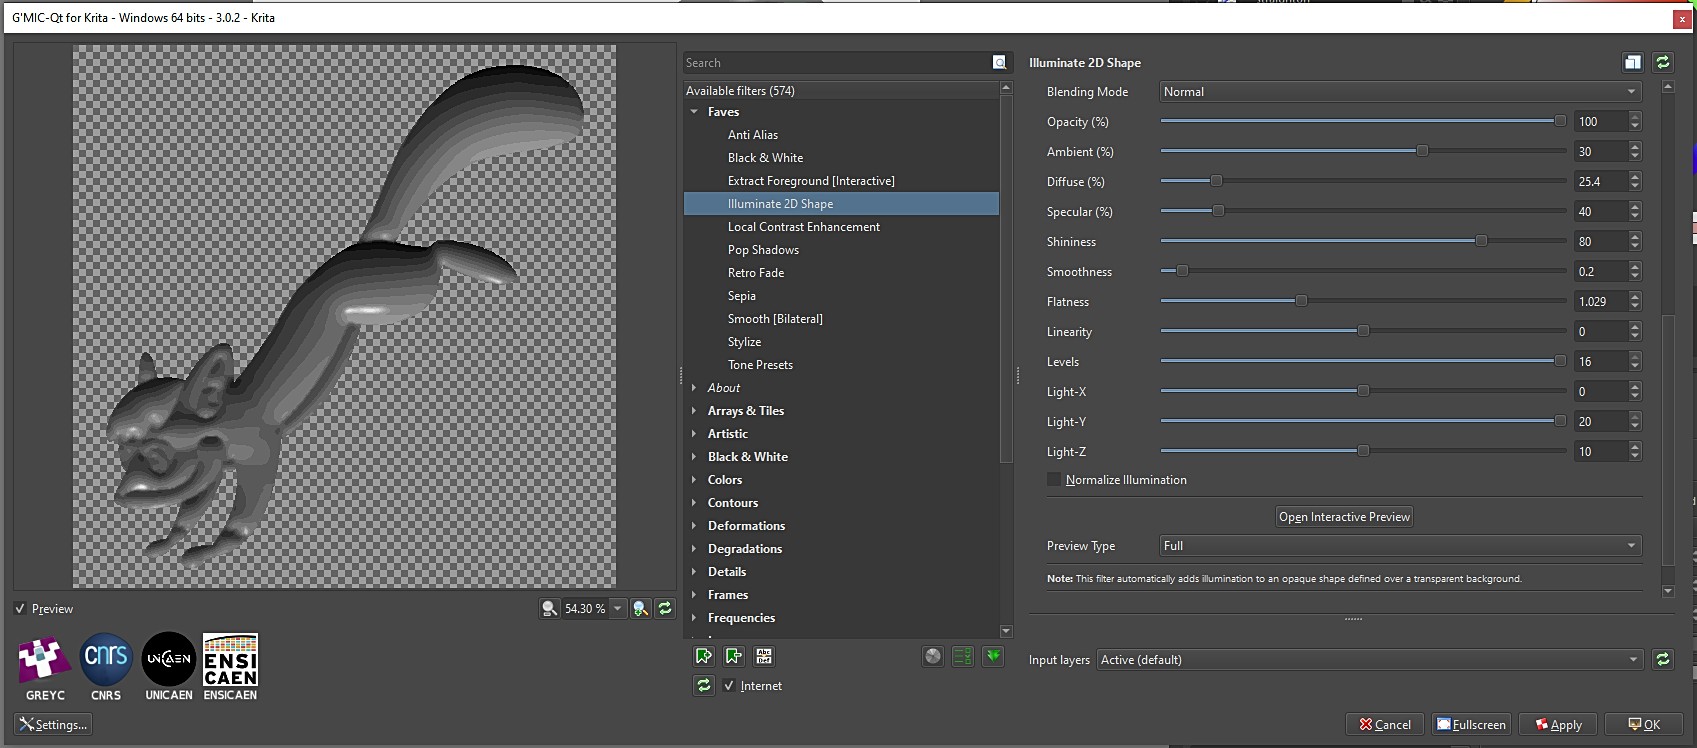
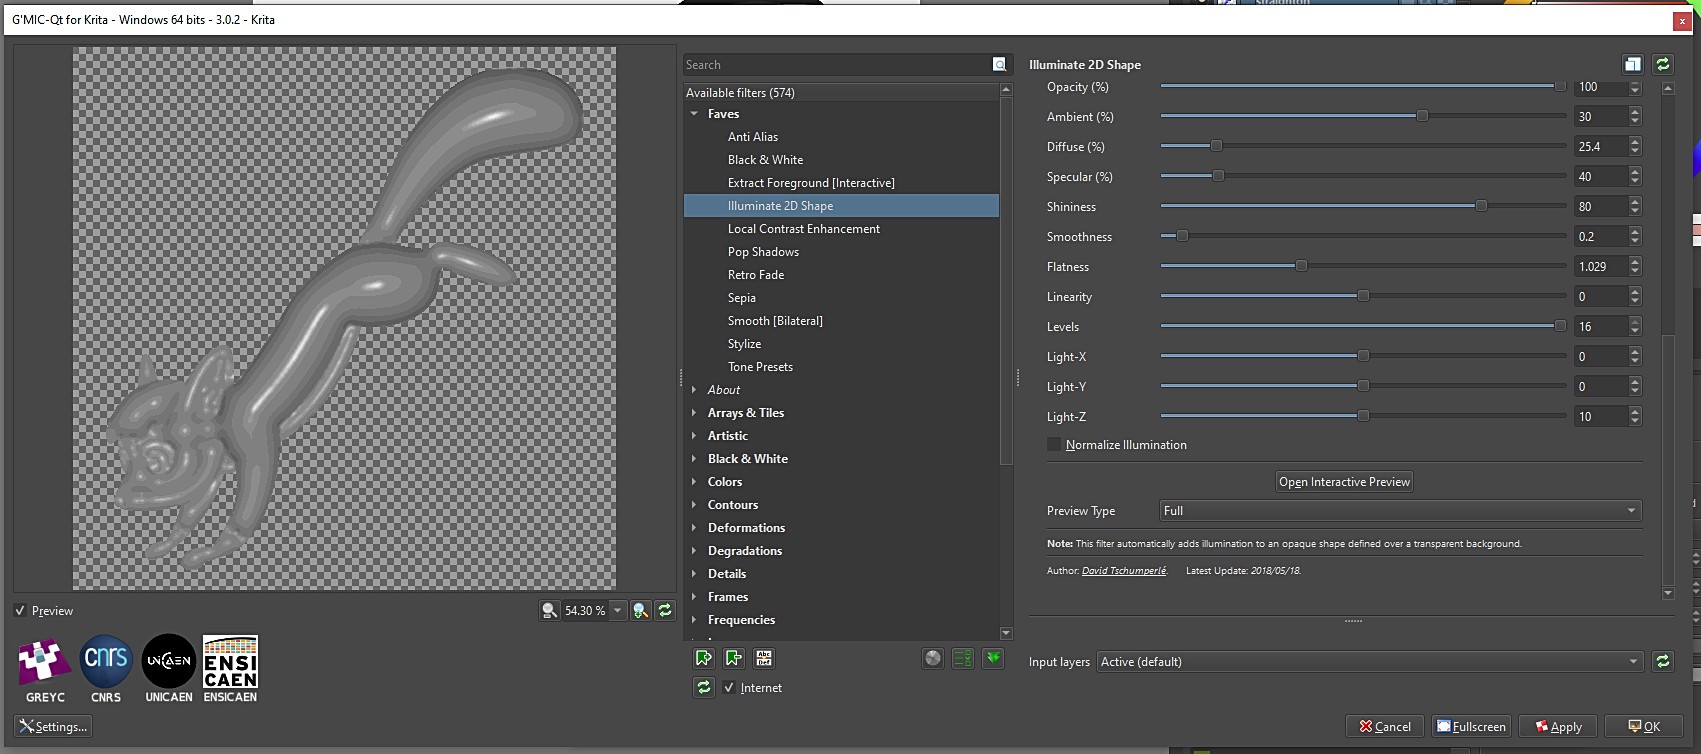
Next I edited the result using a simple brush on a layer above to match the forms more as I wanted them. I used an outline version in multiply mode to help guide me.
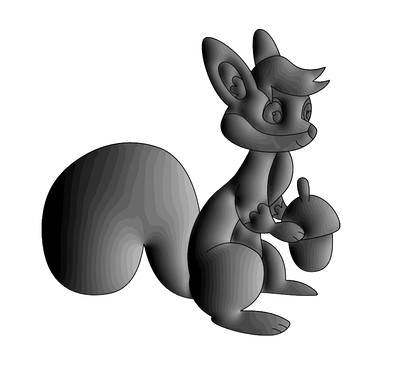
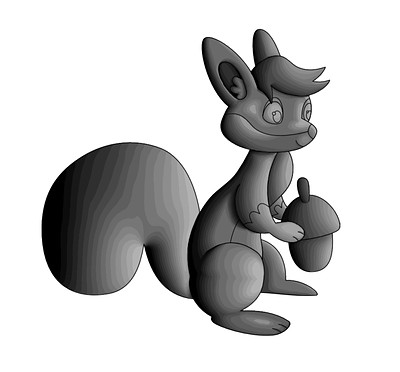
The initial lighted result with the filter made this process faster because all I had to do was colour pick the values and I didn’t have to paint everything from scratch- although that is also a valid way to do it of course (for the sake of this article I’ll keep going though). This process made me think about the way the light was going to have on the forms so it was quite fun and useful.
The edited result was used an an overlay in soft light mode over the flat colour layer. I duplicated this layer and set one of them to 50% opacity just to strengthen the effect a little more, but this is up to you and what look you may be going for. With the squirrels I wanted to create a vibrant look. I found that this served as a great starting point for further digital painting work.
As an added tip I did find another useful filter in G’MIC called Smooth (guided) which you can use to make the greyscale layers look nice and smooth but in a way not so as to lose too much detail in the right areas. You have to fiddle with the sliders until you get something useful. It is faster than blending everything by hand with the colour picker method (which I did with the first squirrel I tried this technique on) and serves as a good base for the initial shading.
After that you can paint on layers above with the brushes in Krita to get a nice hand painted result and refine things until you are happy.
That is it for now, thanks for reading.
Librepay .
Buy me a coffee .
Kofi .
Gumroad
Source link

