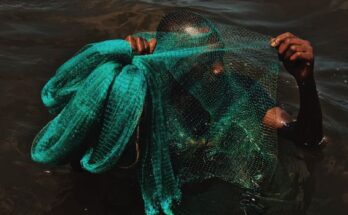
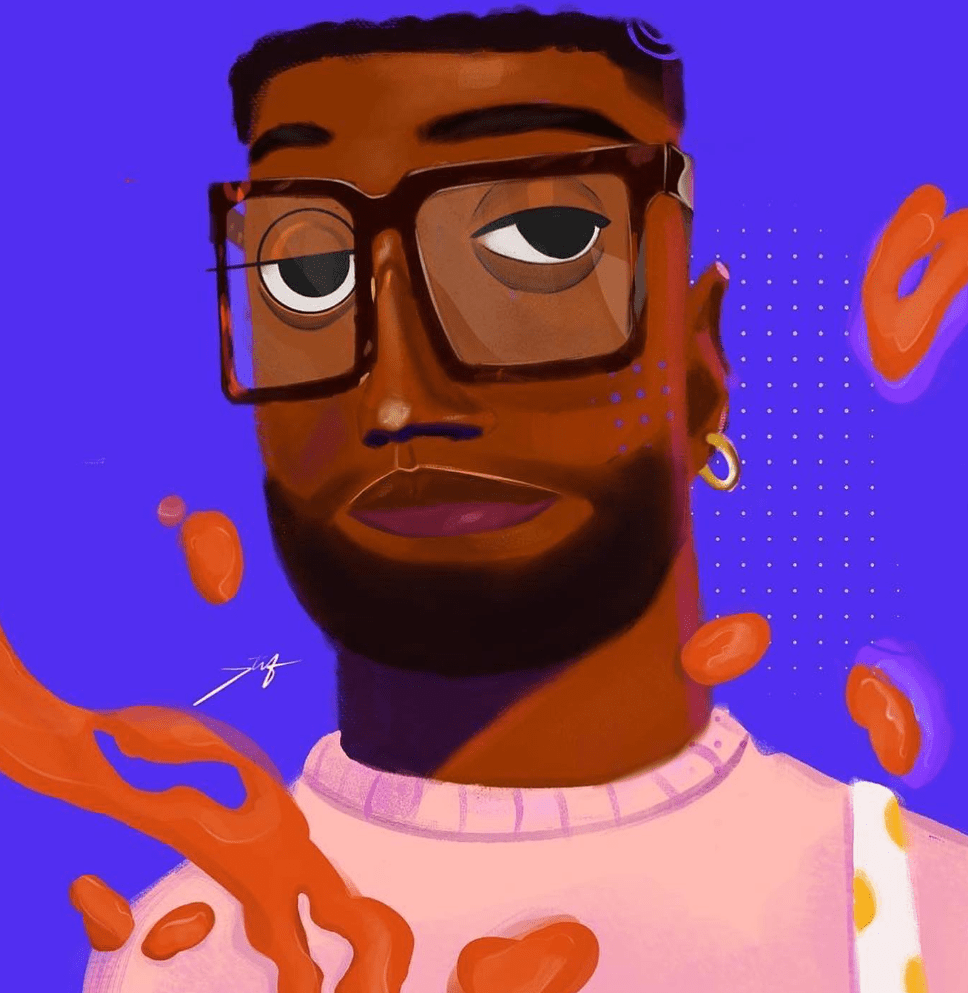
I did another blender lighting experiment a few weeks ago with one of my digital painting studies.
Creating the Normal Map
I created a normal map using the 4 hand painted light direction method. This time I did start off with a depth map because it helped speed up the process.
I tried the depth map from image tool in Photoshop CC and ZoeDepth. ZoeDepth made a more detailed result. There is a hugging space and a Google Collab for this tool. It would be good if this tool was available to use offline though (privacy etc.). I expect there is a way to do this but I don’t have enough technical knowledge for things like that. I had hoped that someone could make an offline tool for doing this. 1
I found that if I turned the depth map / height map into a normal map using PixPlant I could then extract the starting light directions using a macro in Affinity Photo from James Ritson’s website. The Output RGB channels to greyscale layers for blending (e.g. luminosity) one is useful for this. You can find it in the JR Channels Macros. It is a free download via his Gumroad shop.
After I had starting points for the light directions I hand painted the light directions using Krita. Any art editing software is good for this it is just that I like using Krita for general digital painting. All you need for this though are basic brushes. It depends how you want the normal map to look (or how long you want to spend on it). Any brush strokes will be present in the composited normal map so if you want a smooth result use airbrushes or soft edged brushes like I did.
Once all the light directions were painted I used Sprite Lamp to make a normal map by combining the light directions. I still haven’t found a program that does this as well as Sprite Lamp despite it not being updated for several years now. I haven’t used Substance Painter yet though so I can’t say for sure. There are other methods for doing this including using Blenthe if you don’t have Sprite Lamp or SpriteDLight (which also has this function although that hasn’t been updated in years either). Shadermap also has this ability.
Because this image had a background rather than just being a sprite on a transparent background I had to mask the foreground elements and create another normal map with just the background elements because it was difficult to shade the light directions for the background and I wasn’t happy with the result. The figure was the focus anyway. I used PixPlant again to generate a normal map for the masked background.
I then mixed the normal maps for the foreground and the background together using Krita’s combine normal map layer mode. Through my trials and errors I have found that Krita’s method is better than using Awesome Bump to do this as I have done in the past (go figure…).
Painting PBR textures
I added some PBR textures by using layer masks in Krita and exporting the separate PBR textures needed for the image.
I used a gold PBR texture for this test which I had exported from ArmorPaint. ArmorPaint lets you use a large library of free PBR textures, or you can download textures manually from various websites that provide free PBR textures.
I created a plane 3D object in ArmorPaint (not a flying machine the other kind), applied a gold texture to it then exported the maps for use in Krita.
I tried painting the image directly in ArmorPaint and 3DCoat before I used Krita. It was a little difficult figuring out how to do this for 3DCoat but basically the plane object has to be composed of triangles for it to work properly. I discovered the exported images were forced into a square ratio even though the imported plane object was not square and it had looked OK in the 3D viewport. That was disappointing.
I ended up using Krita. Krita has a handy normal map brush and a normal map combine layer mode anyway. I used layer masks to paint the extra gold PBR texture details. 2
After I had the texture maps for the image I used the import image as plane add-on in Blender and connected all the relevant textures to the PBR shader node.

After I watched a video recently by CG Boost: Fake Large Scale Forests in Blender I also realised that adding the world space normal map might improve the result of the lighting for the normal map so I created one for my image (see the above video for the method) and then mixed it with my normal map using combine normal map layer mode in Krita. I think it did improve the result so thanks to that tip from CG Boost.
Here are some lighting tests I rendered using Blender with all the texture maps on the image plane.
I also recorded a video showing the image in Blender for this article.
I’m not sure what use all of this is but it was interesting.
Thanks for reading.
Footnotes
- I know AI is controversial at the moment but the depth map use is something I regard as a tool and does not involve plagiarising or stealing artwork. As well as this a lot of editing and hand painting went into making the normal map using non-ai methods afterward.
- It would have been an easier process to use a dedicated PBR painting program but doing so currently restricts you to a square ratio. Those programs are not designed for Illustration work, they are primarily for texturing 3D models. I did try Blender’s PBR painting as well but it is currently quite complicated to set up compared to the method I used in Krita.
Please help support my blog
Liberapay .
Buy me a coffee .
Kofi .
Payhip .
Gumroad .
PayPal
Source link


