Introduction
I decided to get Rebelle 7 because I wanted to test out the structures feature. I was also interested in the improved heightmap paper textures and I wanted to see if it was true about the brushes being nicer to paint with (which I had heard from a video by Wes Gardner). I also got a little tempted with the metallic paint feature if I’m honest. That is something I’ve been experimenting with using other techniques.
There are lots more updates with this version of Rebelle which you can check out on the official Rebelle website.
My opinion on the software from my early dabbling is that it is an improvement to the previous version, but I hope there will be more updates and improvements throughout the year.
I’m hoping the Rebelle team will release more information on how to make structures for the program because there is not much information about that so far. I suspect they will add more as time goes on, but I have been experimenting and thought I may as well write about it. As it stands there are only 3 textures that come with the program (at the time of writing this) but it is possible to import your own.

This article is not a review of Rebelle 7. I will show you some of the things I’ve been testing out with the structures feature so far.
Digital Texture Rubbings
To start with I should introduce what the structures are as I understand it. They are greyscale textures which can be used to create digital texture rubbings in your work. This is very similar to the art technique where you find a textured surface or flat object in real life and then put a piece of paper over it and draw over the paper to create an impression of the object or surface beneath.
I found this video about how to use it to create interesting textural artwork by The Met YouTube channel.
These days the technique is common with schools kids in early art classes but it was used by Surrealists such as Max Ernst to create interesting effects which would suggest other images from his unconscious mind to him like a form of “automatic” drawing. This technique is also known in the art world as “frottage” derived from the French frotter, which means “to rub”. He also later developed the technique to oil painting and called that “scraping” which translates as scraping.
Artists and crafters can go out in nature and collect texture from everyday objects and surfaces such as tree bark, rocks, sticks and man made objects. Artists can collect items and make their own texture rubbing plates. There are readymade commercial texture rubbing plates as well.
Normal Map Rabbit Hole
Whilst experimenting with the structures feature in Rebelle 7, I found that it converted some of the normal maps I’d created quite well into structures.
I then researched how it might be possible to capture things from real life and use them in the program. This led me down a bit of an arty rabbit hole which is always fun (unless its the other sort of course).

Rubbing is a traditional technique that is used in Archaeological study on stone and brass. Archaeology has embraced all sorts of digital technology over the years but the old ways are still relevant.
Whilst researching I found there has been research for digital texture rubbing techniques for archaeological preservation. Here is a scientific paper on the subject: Digital Stone Rubbing from 3D models.
Archaeologists also try to preseve and study archaeology by using 3D scanning techniques such as the Artec 3D scanner and the Ireal 3D scanner. The idea is that using such techniques avoids damaging fragile artefacts with the traditional rubbing techniques and it can reduce the labour intensive work that would entail.
Photogrammetry is now a common practice in archaeology (such as Wessex Archaeology), but one of the limitations is that it does not produce great surface detail normal maps unless you combine it with a technology such as RTI (Reflectance Transformation Imaging) or Photometric Stereo. I came across this being cited as a limitation after reading an article on Sketchfab by Hugh Gatt: Combining Manual and Digital Archaeological Illustration Techniques in 3D. RTI is also done by Wessex Archaeology of course. They are experts at what they do after all.
I hadn’t come across the term Photometric Stereo before doing this research but it is also used in the game industry. Material artists use it to create highly detailed PRB (physically based rendering) materials by taking at least 8 photographs of objects from above with different light angles and then use software such as Details Capture to combine them into normal maps and extract the other materials from the results of the diffuse (unlit) texture and the normal map. I found a really in depth video by expert material artist Gregoryrfrom Baran who currently works at Ubisoft Reflections, on the subject:
There are many other material artists who use this technique such as Piotr Bieryt and Marcel Lenoir to name but a few.
This is very similar to something I’ve been doing for a while in creating my handpainted normal mapsbut I usually only need a top, bottom, right, left and sometimes from above lighting image to create a hand made normal map.
The more lighting angles you can use the more accurate the result will be which is more important for capturing things from real life and faster to do by using photography or scanning than if I were to have to paint all those extra angles by hand (as much as I love that).
Using Normal Maps as Structures in Rebelle 7
I’m not really equipped, willing or able to produce my own Photometric Stereo normal maps but there are lots of PBR Materials which have been created with such technology to be found.
I tried some of the free Substance library materials from Adobe. I extracted the normal maps using Substance Player and then inverted them using PixPlant to get a better result for the structures in Rebelle 7. I also created transparent areas using the black and white mask texture and upped the strength or sharpness of the normal map before I imported it into Rebelle 7. If you don’t create transparency in the normal map image the paper will not show though when you create the rubbing in Rebelle.
It is then a matter of experimenting with different brushes. Generally I found that the oils did not work with structures, it was the “dry” pencil, charcoal and pastel like brushes which worked best (as they would in traditional).
The structure images can be moved around, resized, rotated and inverted to get different effects.
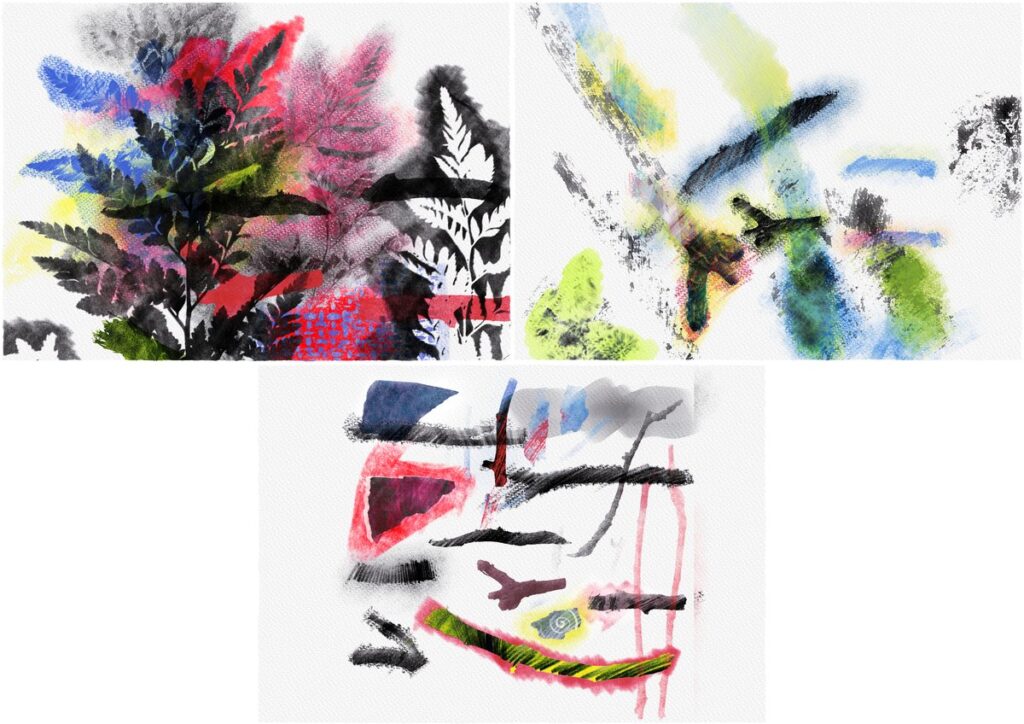
I also tested out some normal maps created from 3D models as structures.
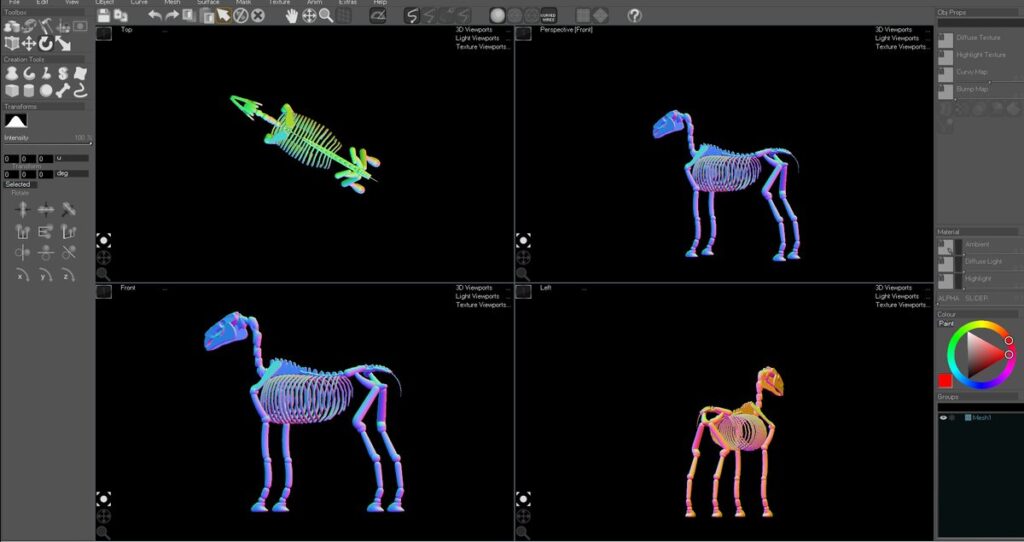
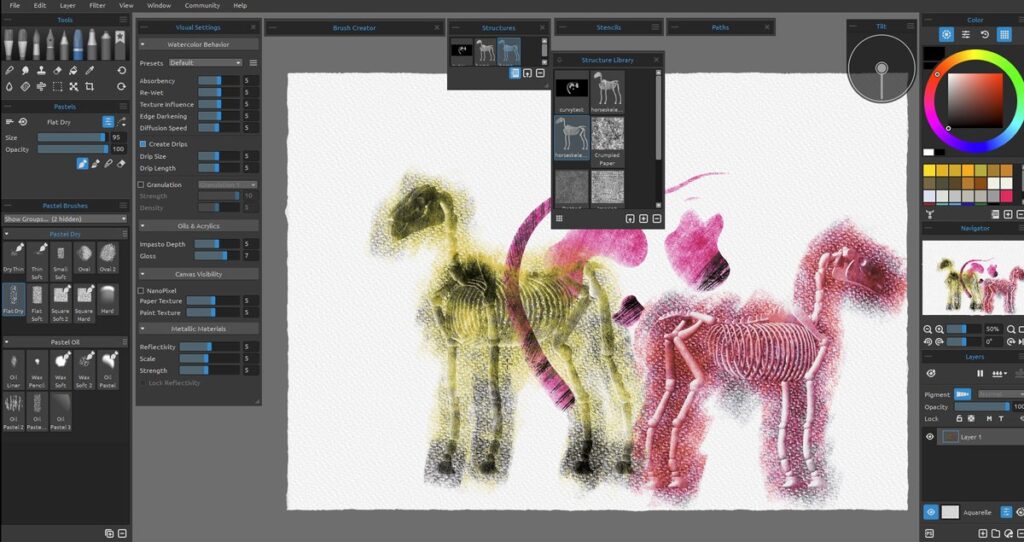
Normal maps can be created using 3D objects with the normal map matcap view in most 3d software. Curvy 3D is one and Blender is very useful for that.
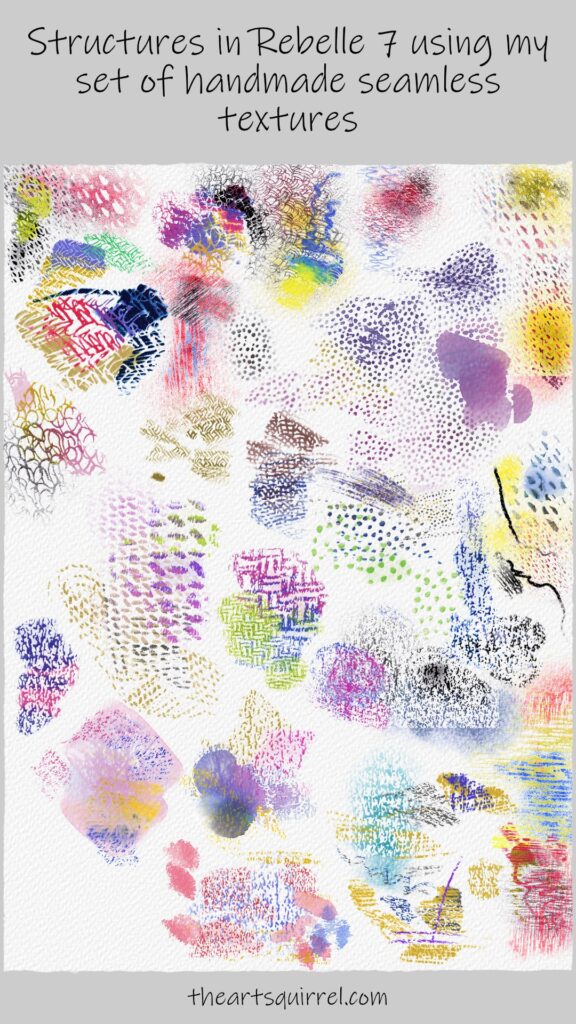
I took the time to update my Hand Drawn Seamless texture set with some normal map images suitable for use as Rebelle 7 structures as well.
I found there is a different result in Rebelle depending on the type of image used whether it is just the diffuse texture, the normal map with a black background or the normal map with a transparent background. Hopefully that will help you if you wan to make your own textures.

Thanks for reading.
Please help support my blog
Liberapay .
Buy me a coffee .
Kofi .
Payhip .
Gumroad .
PayPal
Source link

