This will be the last in a three part article on what I did during a short break to the Countryside of France. In my last article I wrote about some base meshes for various fairys.
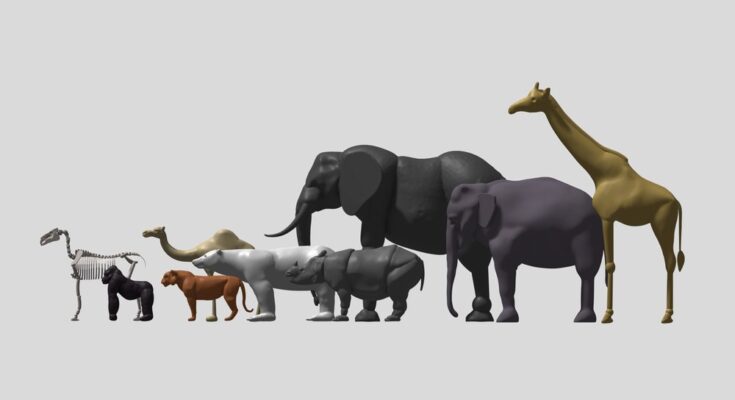
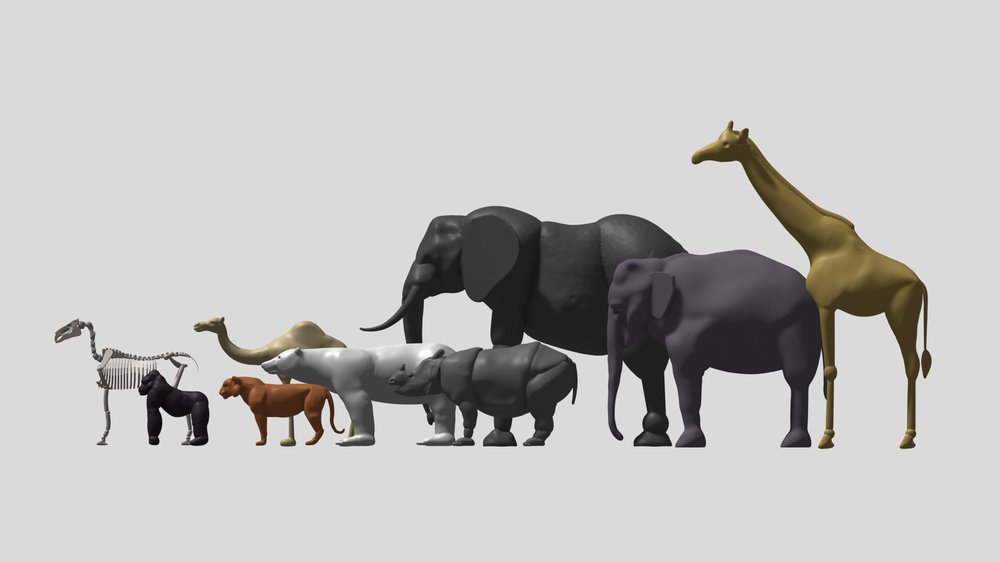
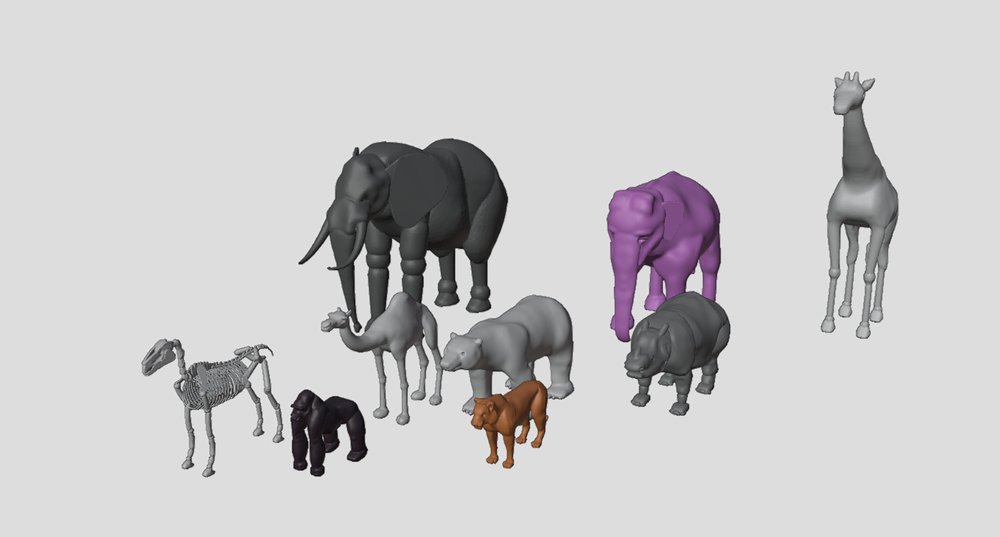
In the final week of my break I made some base meshes for animals including a horse skeleton; a camel; a giraffe; an Asian and African Elephant; a Rhino; a Polar Bear; a Tiger and a Gorilla. I made all of the base meshes using Curvy 3D and Blender. I thought when I got back to my normal computer I might get around to improving them as a fun sculpting exercise. They didn’t take long to make, only an hour or so for each, apart from the horse skeleton which took me a little longer.
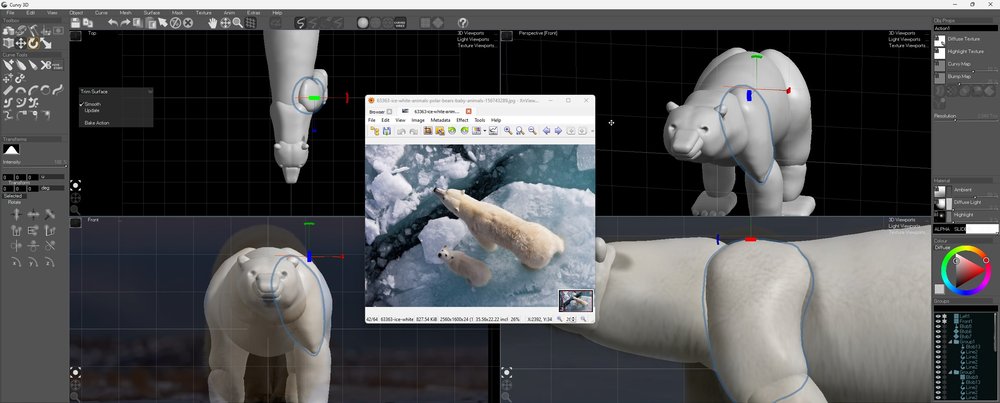
I started by making each mesh in Curvy 3D, blocking out the animals forms in using the various creation tools in the program with my mouse (I didn’t have a drawing tablet with me). I used a side profile image of each animal as a background reference in the left view and the front view.
Curvy 3D was useful for quickly blocking out shapes, I find the 4 way view (top, left, front and perspective) makes it easier and faster to move things into place than using just one view.
Whilst I was working on the animals I tried out the voxel remeshing tools in Blender to join all of the shapes after exporting objects from Curvy 3D. I found this was a useful workflow because the sculpting tools in Blender are a bit better than the ones in Curvy 3D and this process was more reliable on the laptop. I used the grab tool and the trim tool a lot in Curvy 3Ds sculpting tool section a lot during the initial block out stage though.


When I worked on the horse skeleton I used the draw strokes tool to make the different shapes of the spine as an array along a curve. They are pretty rough here because I hadn’t really used this tool much before.
The ribs were a bit more challenging to do at first but after a few failed attempts and a sleep I decided to do them like this: I blocked out the shape of the ribcage using Curvy 3D and then exported it into Blender as an .OBJ file. I made the geometry for the ribs in Blender using basic modeling tools and the symmetry modifier, then shaped them to fit the ribcage from Curvy 3D using the shrinkwrap modifier. After applying the modifiers I selected the faces of the resulting geometry and applied thickness.
Thanks for reading.
Please help support my blog
Liberapay .
Buy me a coffee .
Kofi .
Payhip .
Gumroad .
PayPal
Source link


